Home >All Tutorials> PowerPoint Animation> PowerPoint Mouse Over
Learn to create PowerPoint hover or Mouse over Effect. Follow our simple instructions to create this interesting effect in your business presentations.
Quick word about PowerPoint Mouse over effect:
When you create self-running presentations, it is essential to find ways to keep the audience engaged all the time. Simple effects like ‘Mouse over effect’ in PowerPoint give you an option to sustain the interest level of the audience. In this article, you’ll learn a simple way to use the effect in a business presentation.
Here is the effect you’ll learn to create:

When you move your mouse over the switch, it moves from ‘On’ to ‘Off’ position and vice versa. You can add text that explains the consequence of ‘On’ position and ‘Off’ position to lend meaning to this effect. Let us learn to create the effect in a step by step way.
Step 1: Set up the slides
Create two blank slides. On slide 1 – stick the image of a switch in ‘On’ position and on slide 2 – stick the image of the same switch in ‘Off’ position. It is essential that the switches are in the exact same location on both the slides, for this effect to work seamlessly.
Quick Tip:
You can replace the image of switch with any other image or shape of your choice, as long as the images or shapes look similar to each other and their relative position in the slide remains the same.
Related: Focused Zoom effect for Photos in PowerPoint
Step 2: Add Mouse over effect
Go to Slide 1. Go to auto shapes menu and select the tool called ‘Action Button: Custom’:

Draw a rectangle shape to cover the ‘Switch’ image completely. As soon as you finish drawing the rectangle, you will see a pop-up menu as follows:

Go to ‘Mouse over’ tab and click on the radio button next to ‘Hyperlink to’. Go through the options in drop down menu and click on ‘Next slide’.
Repeat the same process for Slide 2. This time, hyperlink the mouse over effect to ‘Previous slide’.
We don’t want the ‘rectangle’ of action button to cover our images. So, go to each slide, Right click on the shape and go to ‘Format shape’ dialog box. Go to ‘Fill’ and increase the transparency to 100%. Remove the outline. So now, the audience can’t see the transparent action button on top of the images.
The PowerPoint mouseover effect is complete.
You can read this article here to know how to use Hyperlink function to create Puzzle with Trigger Animation.
Smarter option for business presenters:
What you learned in this article was just one of the many tricks to keep your audience glued to your screen. There are many other such interesting animation effects in our ‘750+ Advance Animated Templates Pack for PowerPoint’.
Using the templates from the pack is extremely easy. Just choose the template that matches your thought from the 750+ templates available in the pack. Replace the sample text with your own text and your business slides get ready in no time. You can pick and stick animated elements from different slides to create your own template slides. Creating professional quality business slides has never been easier.

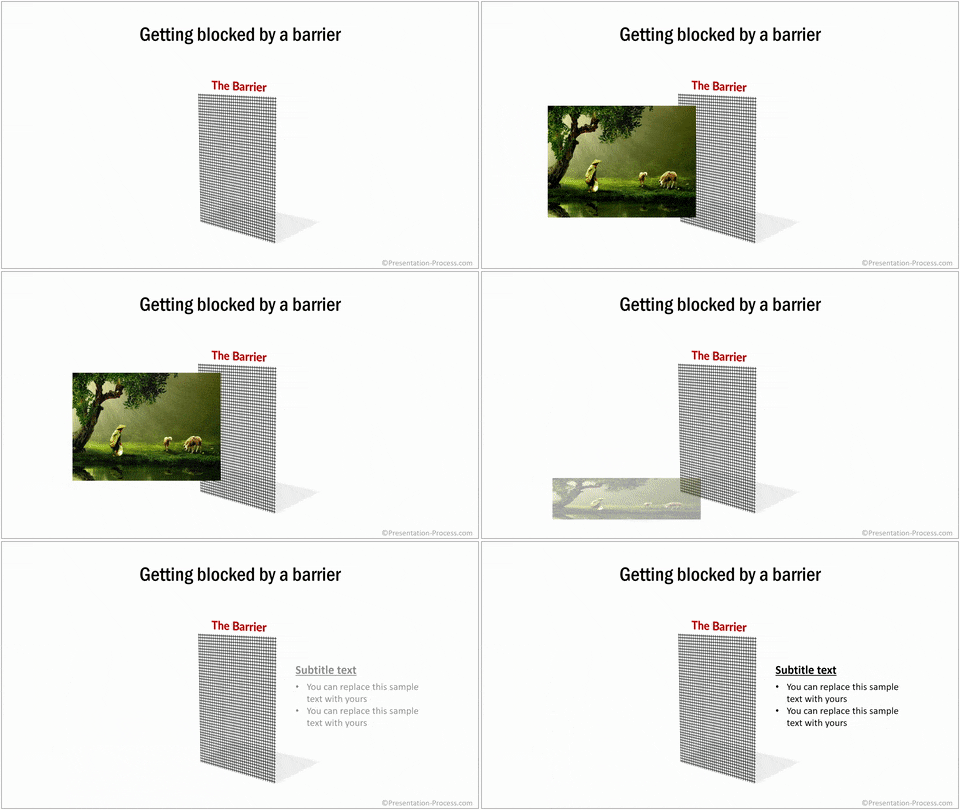
Here is an example showing a creative animated effect for photos and text

Here is a slide with which you can tell your story with animation:
Source: Graphics from Advance Animated Templates Pack
Just choose the template that matches your thought and replace sample text with your own text. Your business slides get ready in no time. Why waste time animating your business slides from scratch, when you have such high-quality solutions available off the shelf? Please browse through our Advanced Animated templates collection here.
If you found this article useful, please leave us a comment below. You can find 200+ articles on this site on Advanced PowerPoint use.

