
Home > All 2010 2007 Tutorials > PowerPoint Shapes > 3D PowerPoint Cone
Learn to create 3D Cone in 4 easy steps. Follow our simple step by step instructions to create this useful diagram for your business presentations.
The 3D PowerPoint Cone you will learn is:

In this article, you will learn to create the diagram in a step by step way using basic 3D tools in PowerPoint. Once you learn the method, you can come up with your own creative variations for your business presentations. Let us learn the steps right away.
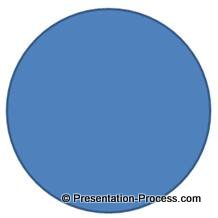
Step 1: Create a circle
Go to ‘Auto shapes’ menu and pick the ‘Oval’ tool. Draw a perfect circle while holding the ‘Shift’ tab and then remove the outline.
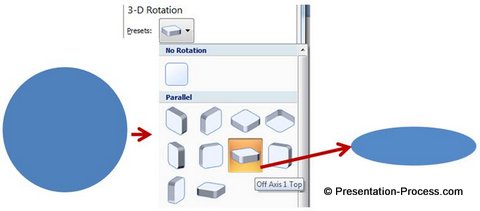
Step 2: Give it a 3D perspective
Right click on the circle and go to ‘Format shape’. Go to 3D rotation and choose the preset called ‘Off axis 1 Top’. You will get the following result:
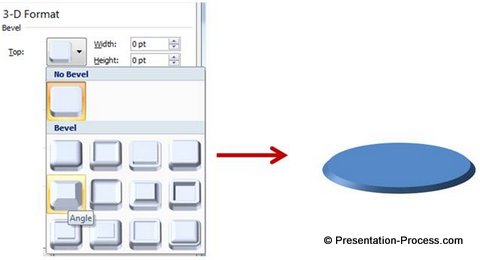
Step 3: Add bevel to the ‘Top’ surface
The next step is to go the ‘3D format’ option and choose the preset called ‘Angle’ for the top surface. The result will be as follows:
You may like: 5 Creative Metaphors for your presentations
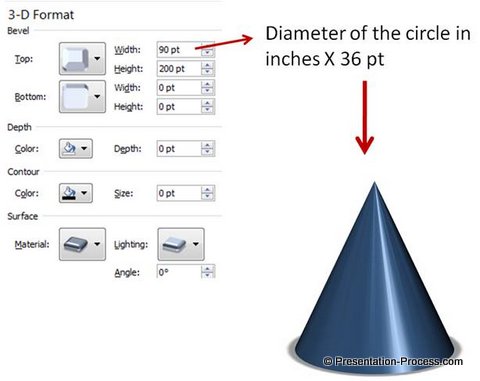
Step 4: Add width and height to the bevel
The next step is to add width and height to the bevel. There is a simple calculation that makes it easy for you to add the right width to get the cone. The calculation is – for every inch of the diameter of the circle you add 36 pts to the width. For example, the circle we selected has a diameter of 2.5 inches. The number of pts we add to the width of the bevel would be 2.5 X 36 = 90 Pts.
Your cone is ready. You can vary the height of the cone to suit your requirements. You can also change the material and lighting to create different styles of cones.
You can make copies of the circle with varying sizes and play around with the width and height of the top surface of the circles to create step cones of multiple layers.It is possible to make a 3D Pyramid with a similar process. See the tutorial here >>
Variations to this Diagram
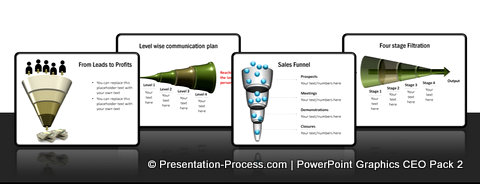
Let us see some variations of the diagram taken from our PowerPoint Graphics and Concepts CEO pack volume 2.
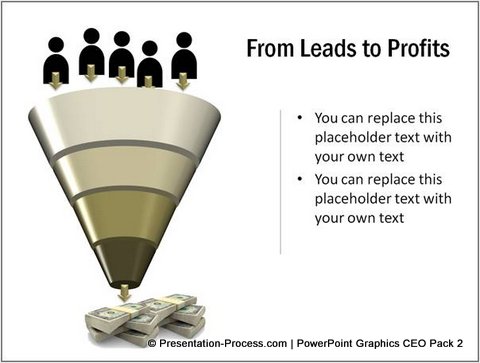
Change the width and height of bottom surface
You can create a funnel diagram by changing the height and width of the bevel of bottom surface than the width and height of top surface.
Source: Marketing concepts section of CEO Pack:Volume 2
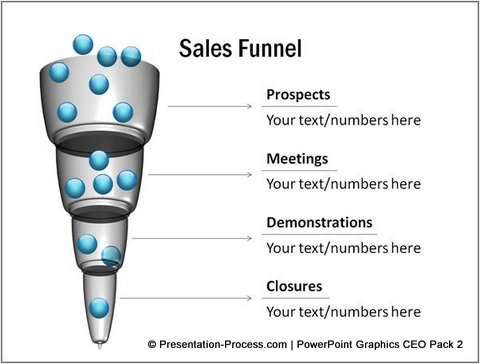
You can change the ‘Material’ option
You can change the ‘Material’ option under 3D format to create semi transparent funnel as shown below. The material option we used in the case shown below is – ‘Clear’
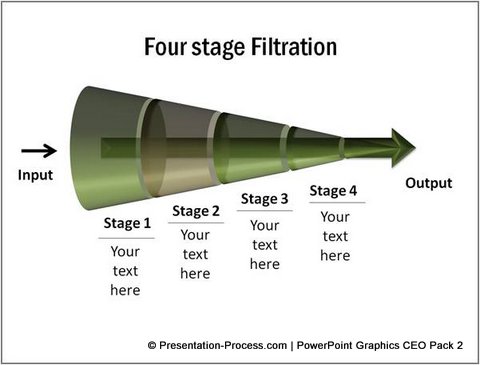
Change the bevel type
Instead of using just the ‘Angle’ bevel you can play with different bevel types. Here is an example of the idea:
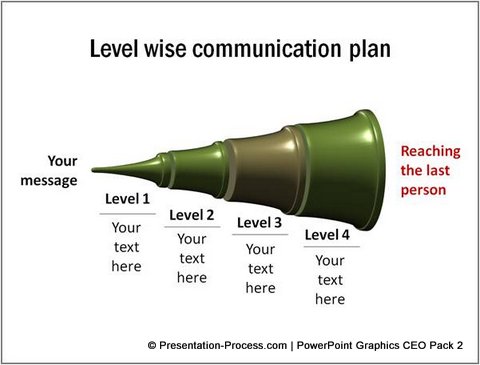
Combine it with other shapes
You can combine the diagram with other shapes like arrows to create interesting effects. Take a look at the following diagram template:
Source: Marketing concepts section of CEO Pack:Volume 2
The transparent ‘material’ used for the cone makes the arrow shape seem like it is jutting out of the cone.
About these Diagrams
While it may be easy to create simple diagrams using the techniques taught in the tutorials, it is quite challenging to create professional quality graphics from scratch. Not all business presenters have the time to create such high quality graphics for themselves.
That is why we came up with our PowerPoint CEO Pack 2. The pack has 815 unique and different templates that you can edit and customize to your requirement. Creating professional quality business presentations has never been easier. Browse more concept related templates from the pack here and evaluate the pack yourself.
If you liked this tutorial on 3D PowerPoint Cone, there are 170+ more such advanced tutorials. Please browse through our site to find more that suit your business requirement.
Related: Creative SWOT Analysis Ideas